UVISAN Manual
Connect UVISAN on location
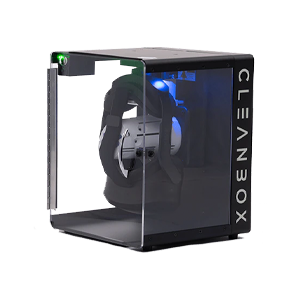
A UVISAN cabin only needs to be plugged into the power on site. It is easy to move because it is on wheels. Keep it indoors in a dry, safe place. When you have found a suitable location for the cabin, you can lock 2 of the 4 castor wheels. In this way, the cabin stands firm and stable and is ready to be connected.
Installation of UVISAN
When installing the cabins, there is a slight difference in the models. While the VR12 only has double-sided doors at the front, the VR20 and VR30 have these doors on both sides. For the VR12, you must remove the rear panel to access the USB charging ports. With the VR20 and VR30 you only have to open the doors.
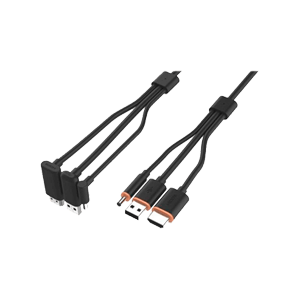
When you have access to the rear of the cabin, connect the charging cables for individual devices to the USB charging ports from the top part of the cabin. You can then route the charging cables through the holes in the rear panel to the front of the cab.
Before connecting the power cord to a power outlet, make sure the power switch is turned off. This can be found in the Top IT area. When the power switch is off, you can safely connect the power cord and then turn on the power switch. Make sure that you never connect the cabin to an overloaded socket.
Setting the UVC disinfection cycle
The cab is pre-programmed as standard for a 5-minute (600-second) disinfection cycle, which is specifically designed to deliver over a 99.9% reduction in common bacteria and viruses.
Do you want to adjust the disinfection cycle time? Then follow the following instructions: Before you can adjust the time settings, you must first start a disinfection cycle. You do this by pressing the start button on the right side of the Top-IT area. When you have pressed the start button, you will see the top timer counting down. Short press the SET button to enter the time setting mode. Pas de timing T1 aan door op de "↑" of "↓" knop te drukken om meer of minder secondes toe te voegen. Na het instellen van T1, drukt u nogmaals kort op de SET-knop, het groene lampje knippert, en druk op de knop "↑" of "↓" om de timing T2 in te stellen. When the time is set to your liking, briefly press the SET button again. The system will automatically save the specified setup time.
Control decontamination cycle
Now that the cabin is connected, installation is complete and you have set your desired UVC disinfection cycle, the cabin is ready to be used. Follow these steps to start a sanitizing cycle:
- Open the door and place all items in the cabin. Keep in mind that all items should be evenly distributed. They should not overlap, allowing maximum exposure to UVC light on all objects and surfaces;
- Then connect all electronic devices to the charging cables/ports (if charging is required);
- Close and lock the door properly (if the doors are not completely closed, the security system will prevent the cycle from starting);
- Press the start button;
- The disinfection cycle will now begin. When the sanitizing cycle is complete, the UVC lamps will turn off automatically;
- When the UVC lights are off, you can now safely open the doors and remove all items.
Cleaning and maintenance of UVISAN
There are a number of things to consider with when cleaning and maintaining your cabin:
- For daily cleaning, use a soft, dry cloth. Do not use abrasives or solvents for this.
- When using, make sure the rear access panel (VR12 only) is properly secured and locked
- Do not use the cab in dusty/dirty areas.
- Do not store the vehicle at low temperatures. This can cause condensation. If the unit is stored in a cold place, allow the booth to acclimate to the ambient temperature for 24 hours before the booth can be safely connected to electrical power.
- Remove the plug from the socket when you are not using the appliance.
- Always use the standard accessories or accessories with license. Unauthorized accessories, especially electronic components, can damage equipment circuits.
Learn more about this subject?
Contact with us! Our specialists are happy to help you.
Send a message Check out our other blogs


